Table of Contents
TODO
Document a client or two:
- Thunderbird
- Outlook
The following details might be needed when setting up a mail client to use an email account. The user of bob@my-brilliant-site.com on the machine example.vm.bytemark.co.uk has been chosen for these worked examples.
It is recommended that all communication with the mail server is conducted over encrypted connections, either using SSL, or TLS.
Note
By default a self-signed certificate is used during the secure transactions. Some mail clients may warn you about this certificate being invalid. If you are at all unsure about the validity of the certificate is would be prudent to double-check it.
A self-signed certificate is one that has not been purchased from a company that specializes in certificate verification; it is quite adequate for the purpose of passing encrypted passwords over the network.
Bob would expect to see something similar to this at the top of her self-signed certificate:- Subject: EMAILADDRESS=root@example.vm.bytemark.co.uk, CN=example.vm.bytemark.co.uk, OU=example.vm.bytemark.co.uk, O=Dovecot mail server Signature Algorithm: SHA1withRSA, OID = 1.2.840.113549.1.1.5
Incoming email can be collected using either the IMAP or POP3 protocols. IMAP is generally recommended over POP3 as it can handle folders, push notification, can selectively download message parts, and the email remains on the server enabling back-ups to be made.
Outgoing email is sent using SMTP. It is good practice to send any outgoing email via the Symbiosis server, rather than any relay service provided by your ISP.
For both sending and receiving email, the following login information would be used.
- Username
- bob@my-brilliant-site.com
- Password
-
(contents of
/srv/my-brilliant-site.com/mailboxes/bob/password) - Server name
- example.vm.bytemark.co.uk
The default ports are used for all protocols. For further details see Section 13.1, “Port Configuration”
Tip
It is common for Internet service providers to block the standard outgoing email port, i.e. port 25. If your email client complains that it cannot connect to your server on this port, then port 587 is provided as an alternative.
Mozilla Thunderbird is a popular open source mail client, that runs on a variety of platforms. In this program we can use the Create New Account link on the home screen to create our new account. Alternatively select . In this worked example, Bob Example, who has the email address bob@my-brilliant-site.com will set up his email account on example.vm.bytemark.co.uk.
New Account Setup: Choose Email Account
Identity: Enter your name as you would like it to appear in the From: header in the Your Name box. Enter your email address in the Email Address box. Bob uses bob@my-brilliant-site.com.
Server Information
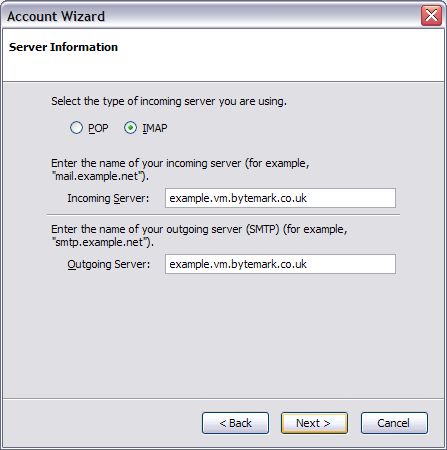
- Choose IMAP as the incoming server type
- Set the Incoming Server to the name of the machine you want to use. In this case Bob would put example.vm.bytemark.co.uk.
- Set the Outgoing Server to the same name.
User Names
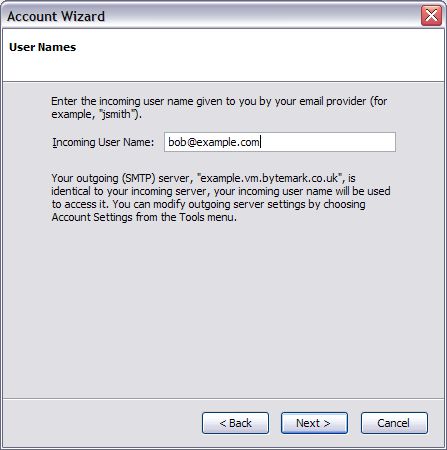
- Set the Incoming User Name to your email address. Bob uses bob@my-brilliant-site.com.
Account Name: This is the name of the account as it is known to Thunderbird. Bob chooses bob@my-brilliant-site.com for this.
Congratulations!: This just shows a summary of the information you’ve given Thunderbird. Click to create the account.
You should now be presented with a screen like the one below.
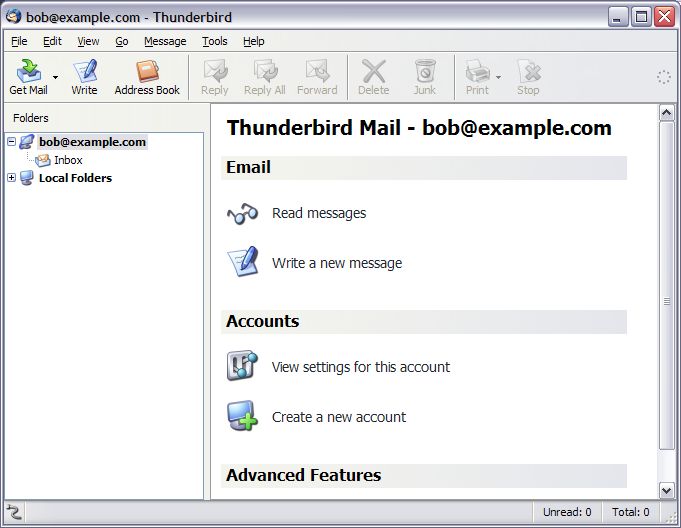
- It is highly recommended that this next step is carried out to prevent passwords and other sensitive data being transmitted over the internet in plain text.
Click on View settings for this account in the home screen (as shown above) and you should be presented with the screen below.
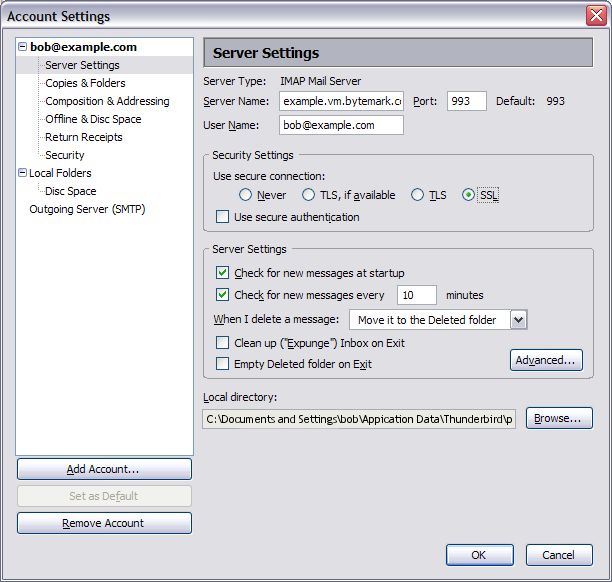
- Simply click the SSL radio button in the Security Settings box. Click OK at the bottom of the screen to apply the change.
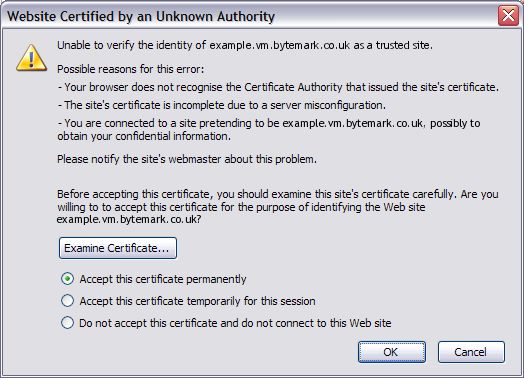
Next time your mail is checked, Thunderbird might present a screen like the one below, warning that the certificate is invalid. This can be accepted permanently.
In order to relay email via your server you need to click on View settingsfor this account again, whereupon you should choose Outgoing Server (SMTP) from the list of items of the left of the new screen, changing it to a screen similar to the one below.

Select the name of your mail server in this box. Bob would choose example.vm.bytemark.co.uk. Then click …. A further screen should appear, like the one below.
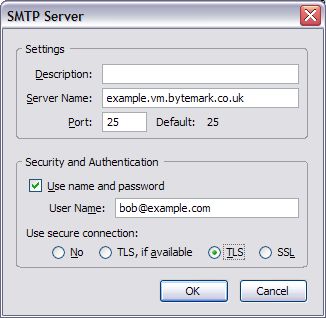
On this screen, make sure the User name and password box is checked in the Security and Authorisation box. The User Name field should contain your email address. Bob would use bob@my-brilliant-site.com.
Finally make sure that the TLS radio button is selected to ensure a secure connection between your computer and the server, and click to apply the changes.
Click again in the Account Settings window to apply the changes.
You are now all set up!
Firstly a new account needs to be added. If you’ve not used Outlook Express before, a wizard will automatically appear when you start the program for the first time. If you have used it before, go to the Settings menu and choose the Accounts item. From there you can add a new account by clicking on the button on the right-hand side of the Accounts window.
This walk-through uses the example person Bob Example, with the email address bob@my-brilliant-site.com on his virtual machine example.vm.bytemark.co.uk.
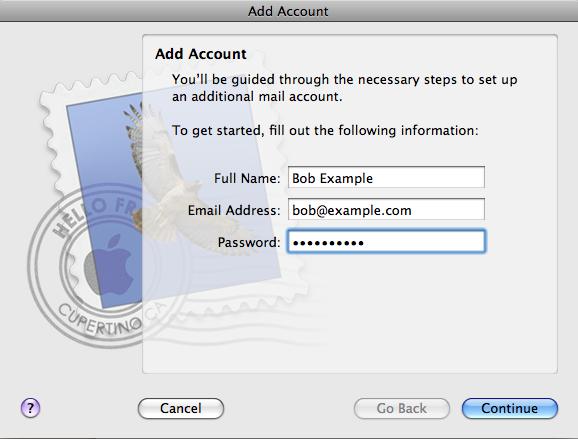
Your Name: Fill in your real name, as you would like to see it in the From: field in emails. In this case, Bob would put Bob Example.
Internet E-Mail Address: Fill in your email address. For this example, Bob would put bob@my-brilliant-site.com.
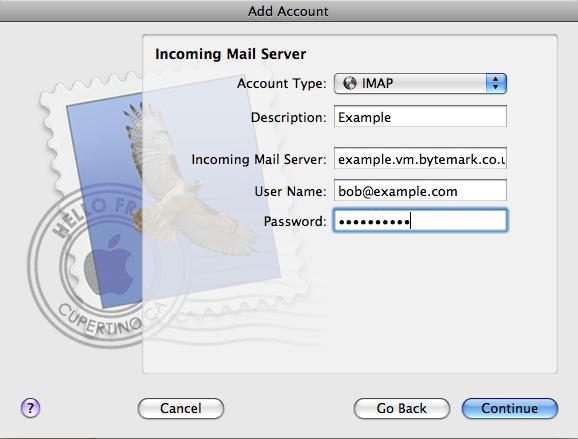
E-Mail Server Names
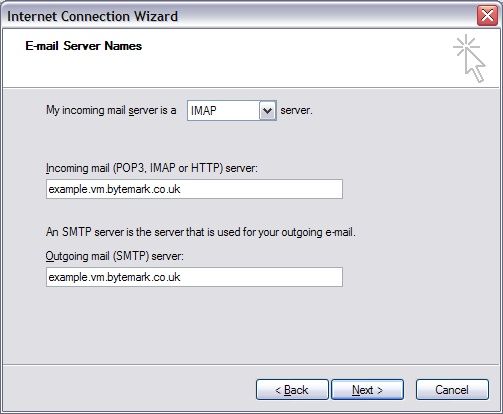
Select IMAP from the drop-down box at the top.
Fill in the name of the server in the both the incoming and outgoing mail server boxes. In this case, Bob would use example.vm.bytemark.co.uk for both.
Internet Mail Logon:

Fill in your email address as the Account Name box. Bob would put bob@my-brilliant-site.com.
Fill in the Password box with your password. Please note that the password is case-sensitive, so it is best to copy and paste it from another email if possible.
Tick the Remember Password box, if you wish the program to remember the password indefinitely.
Leave the Logon using Secure Password Authentication box unchecked.
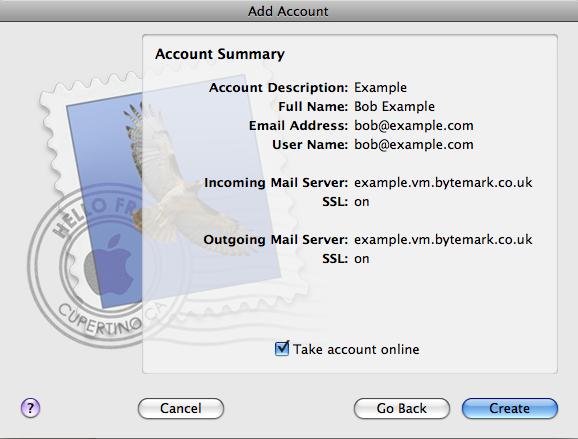
Congratulations: The last step is a confirmation box, detailing all the settings you have entered. Click to create the account.
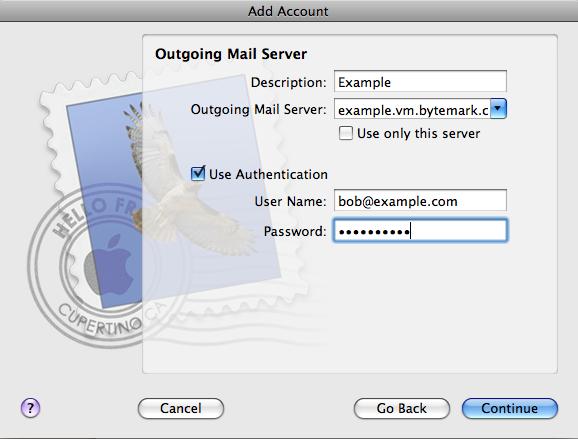
To send outgoing email you need to tell Outlook to use authentication. This is done by bringing up the Properties for your new account.
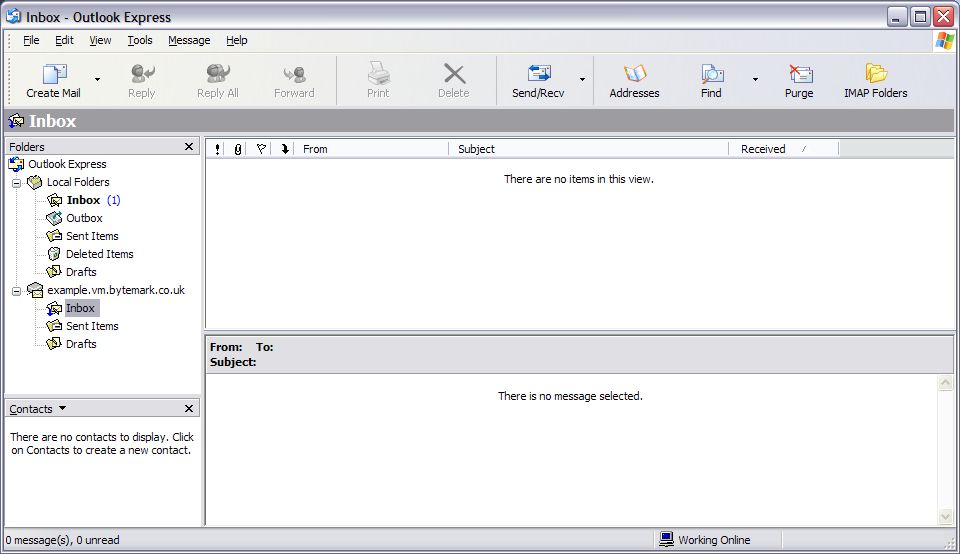
Click your right mouse button on the name of the account in the main Outlook Express window, and select the Properties entry on the menu that appears.
A new window will appear. Choose the Servers tab at the top of the window.
Towards the bottom of this page, under the Outgoing Mail Server heading, tick the box labelled My Server requires authentication.
Now to double check the correct username and password are being used, click the button to the right of this check box, and a new, smaller window appears.
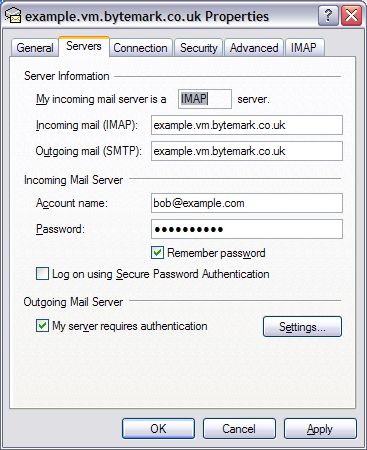
In this window, make sure that the radio button is chosen.
Click in this smaller window, returning you to the Properties window.
Click again to save the settings.
It is strongly recommended to use secure connections to collect and send email. If you do not use secure connections, your login details are passed in plain text between your computer and the server.
- Once again, access the Properties for the account by right-clicking on the account name in the main Outlook Express window, and selecting the Properties entry.
A new window will appear. Select the Advanced tab at the top of the window.
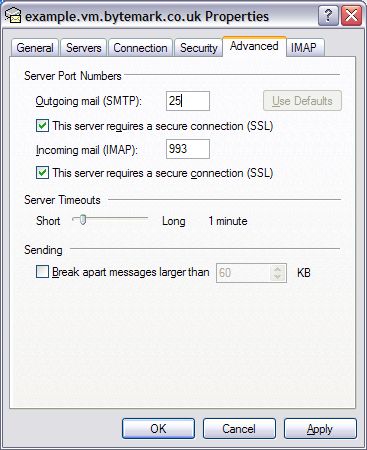
- Now check the boxes labelled , under both Outgoing mail (SMTP) and Incoming mail (IMAP). -The number in the box labelled Outgoing mail (SMTP) should stay the same. -The number in the box labelled Incoming mail (IMAP) should change to 993 when the box underneath is ticked. If it doesn’t, you should change it by hand.
- Now click to save these changes.