Table of Contents
Before you start this chapter
- Connect to your server over SFTP using FileZilla (see Chapter 2, Connecting to your server with FileZilla and SFTP).
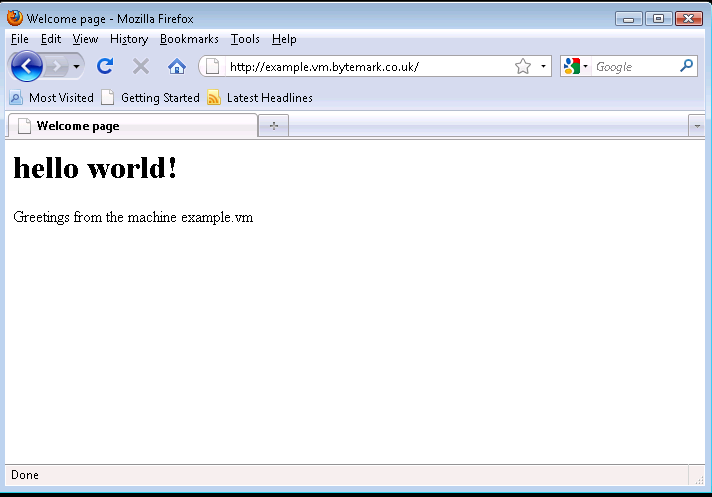
Start up your web browser and enter the machine’s name in the location bar, e.g. http://example.vm.bytemark.co.uk. As you can see, your machine is already hosting a default page.
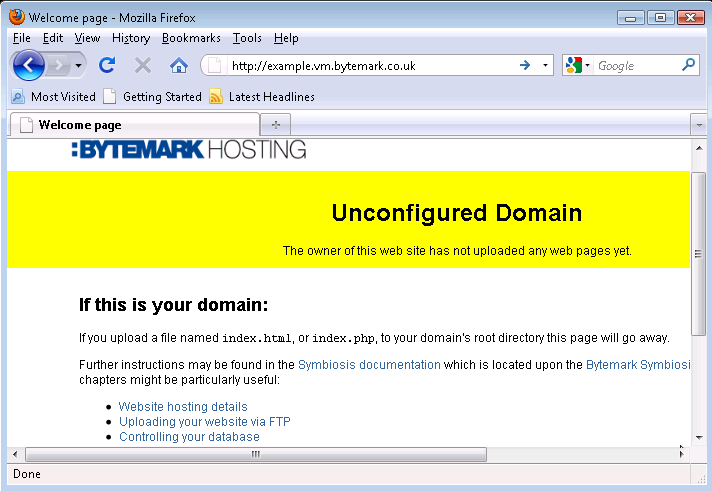
The procedure for replacing this default page with a new one is as follows.
Create a simple HTML file named
index.html. It has been assumed that it has been saved in the directory calledMy Documents.Start up FileZilla and connect to your server.
The file
index.htmlshould show up in the lower left-hand pane. In the right-hand pane the/srvdirectory will be shown.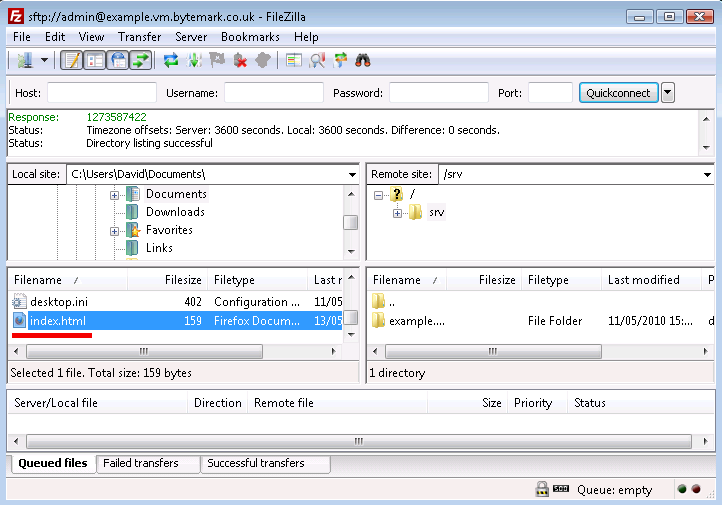
HTML files should be uploaded to the
public/htdocs/directory. This can be found by revealing the contents ofsrv/by clicking the to its left in the top-right hand pane.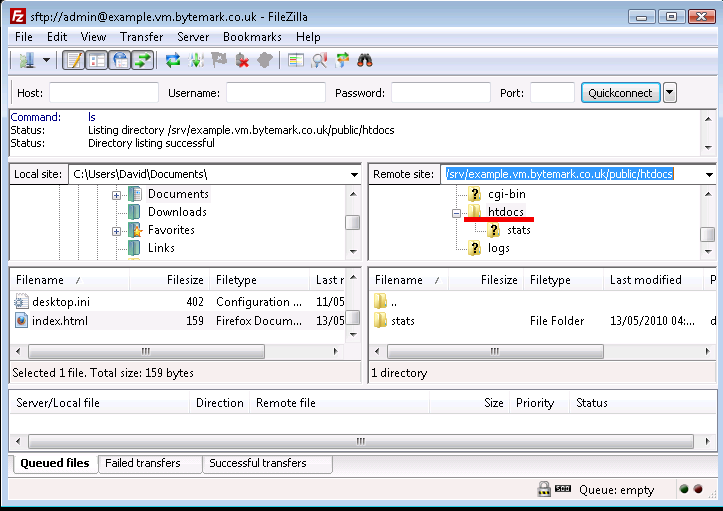
Now right-click on
index.htmlin the lower left-hand pane, and select from the menu. The file is uploaded to thehtdocs/directory on the server.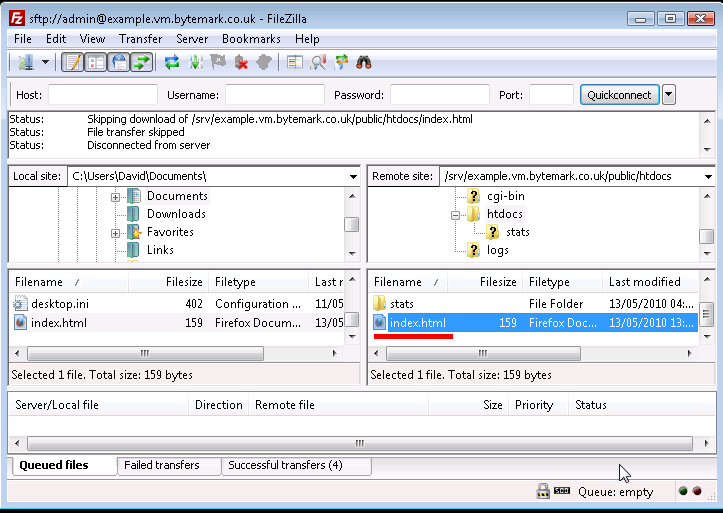
Refresh your web browser to see the result.
Note
This example shows uploading a web page written in HTML, called
index.html. This file could also be written in PHP,
in which case the file should be called index.php.
The previous section dealt with setting up a web page using the default domain associated with the machine. A Symbiosis system can host many domains without any extra configuration. This section deals with configuring a second domain.
It has been assumed that both your server is hosted at Bytemark, and that this second domain is using the Bytemark name servers. If this is not the case, then Section 15.1, “Default DNS records” sets out the DNS records needed for the following procedure to work.
For the purposes of this tutorial, the domain my-brilliant-site.com is being hosted on the machine example.vm.bytemark.co.uk.
With FileZilla connected to the server, make sure the text field is pointed at the
/srvdirectory a. Right click on the folder icon b.From the right-click menu select and in the popup enter
/srv/my-brilliant-site.com.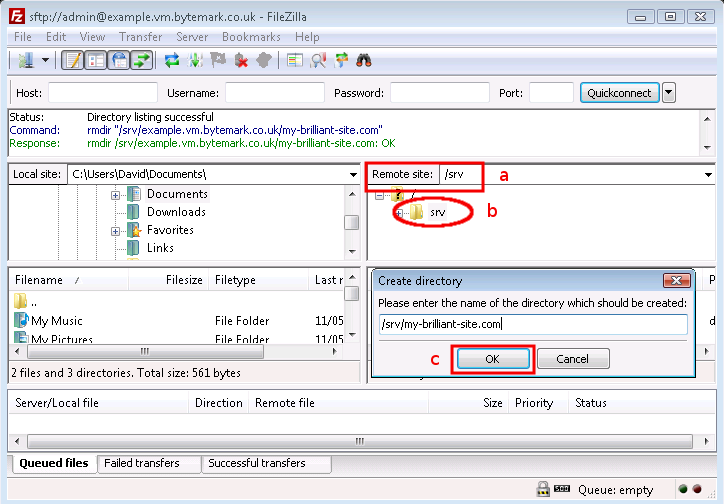
Click the button c to create the directory
Repeat this step to complete the domain tree with the directories
/srv/my-brilliant-site.com/publicand/srv/my-brilliant-site.com/public/htdocsCreate another
index.htmlfile.Upload it as before, but this time into the
htdocsdirectory in themy-brilliant-site.comdirectory tree.
Within a hour, the DNS records for my-brilliant-site.com will be generated and uploaded to the Bytemark domain name servers. Navigating to that site will then show our new index page.
At this point, the site will also be visible at both http://my-brilliant-site.com and http://www.my-brilliant-site.com. This is part of the Symbiosis setup; if different pages were required at www.my-brilliant-site.com, a separate directory tree should be created for www.my-brilliant-site.com, with a different content as needed.
As we’ve previously noted if there is a directory present upon
your machine with the name /srv/my-brilliant-site.com/public/htdocs
the contents of that directory will be served for both:
This works because although the prefix, "www.", is missing the
actual domain is still found on your machine beneath the /srv prefix.
In the general case you can also direct your users to:
In short - the sub-domain used as a prefix is silently removed if the appropriate directory cannot be found upon your machine. The only additional step you’ll need to perform is to create the appropriate DNS entry, which is discussed in Section 15.2, “Adding a wild-card hostname record”.
It is possible to test the content associated with a new domain before it has been registered or had any DNS configuration done. This is done using the testing prefix.
If your machine is not hosted at Bytemark, or your machine name does not end in bytemark.co.uk then a wild-card DNS record is needed for this to work. This is discussed in Section 15.2, “Adding a wild-card hostname record”.
For example, to view the site my-brilliant-site.com which is hosted on the machine example.vm.bytemark.co.uk, simply head to http://my-brilliant-site.com.testing.example.vm.bytemark.co.uk/.
This testing URL is immediately available following the upload of the
index.html or index.php files.
Note that there is no www at the start of the testing URL.
Note
This facility does not play well with certain directives that can be used
in Apache htaccess files, especially rewrite rules.