Table of Contents
This chapter covers setting up email collection and delivery under Thunderbird 10.0, Apple Mail and Windows Live Mail.
The following details might be needed when setting up a mail client to use an email account. The user of bob@my-brilliant-site.com on the machine example.vm.bytemark.co.uk has been chosen for these worked examples.
It is recommended that all communication with the mail server is conducted over encrypted connections, either using SSL, or TLS.
Note
By default a self-signed certificate is used during the secure transactions. Some mail clients may warn you about this certificate being invalid. If you are at all unsure about the validity of the certificate is would be prudent to double-check it.
Incoming email can be collected using either the IMAP or POP3 protocols. IMAP is generally recommended over POP3 as it can handle folders, push notification, can selectively download message parts, and the email remains on the server enabling back-ups to be made.
Outgoing email is sent using SMTP. It is good practice to send any outgoing email via the Symbiosis server, rather than any relay service provided by your ISP.
Managing sieve filters is done using the ManageSieve protocol.
For both sending and receiving email, the following login information would be used.
- Username
- bob@my-brilliant-site.com
- Password
-
(contents of
/srv/my-brilliant-site.com/mailboxes/bob/password) - Server name
-
mail.my-brilliant-site.com
The default ports are used for all protocols. For further details see Section 16.1, “Port Configuration”.
Tip
It is common for Internet service providers to block the standard outgoing email port, i.e. port 25. If your email client complains that it cannot connect to your server on this port, then port 587 is provided as an alternative.
Mozilla Thunderbird is a popular open source mail client, that runs on a variety of platforms. In this program we can use the Create a new account link on the home screen to create our new account. Alternatively select . In this worked example, Bob Example, who has the email address bob@my-brilliant-site.com will set up his email account.
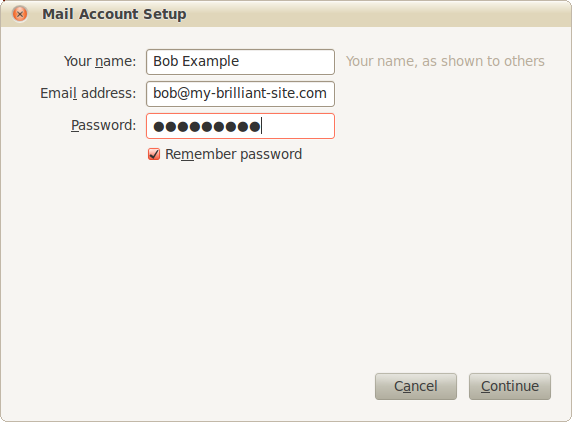
Mail Account Setup: Enter your name as you would like it to appear in the From: header in the Your name box. Enter your email address in the Email address box. Bob uses bob@my-brilliant-site.com, and finally enter your password in the Password box. Click .
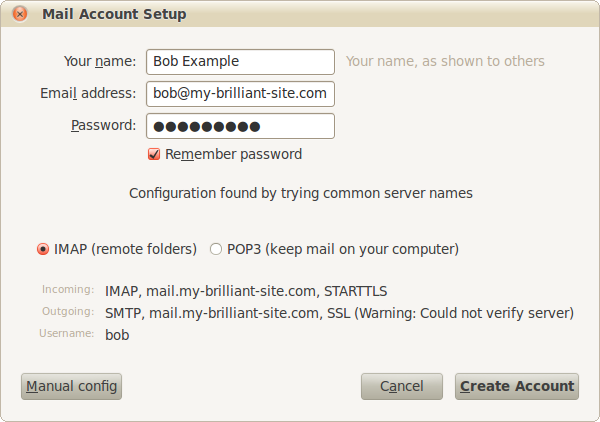
Thunderbird will then attempt to guess the configuration details using common server names. Once found, it is best to use IMAP to collect email as it allows storage of email in folders on the remote host, meaning that it will be displayed identically in webmail. Click .
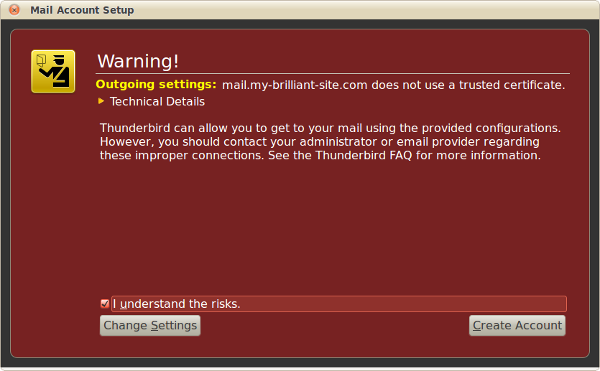
At this point Thunderbird might display a warning. As described in the previous chapter, this is due to the SSL certificate being self-signed, i.e. locally generated. This does not effect the security of the connections. Check I understand the risks, and then
Finally a further warning is displayed about the SSL certificate. Check Permanently store this exception, and then .

Your mail account is now ready to use.
Firstly a new account needs to be added. If you’ve not used Windows Live Mail before, a wizard will automatically appear when you start the program for the first time. If you have used it before, click the Accounts tab and click .
This walk-through uses the example person Bob Example, with the email address bob@my-brilliant-site.com.
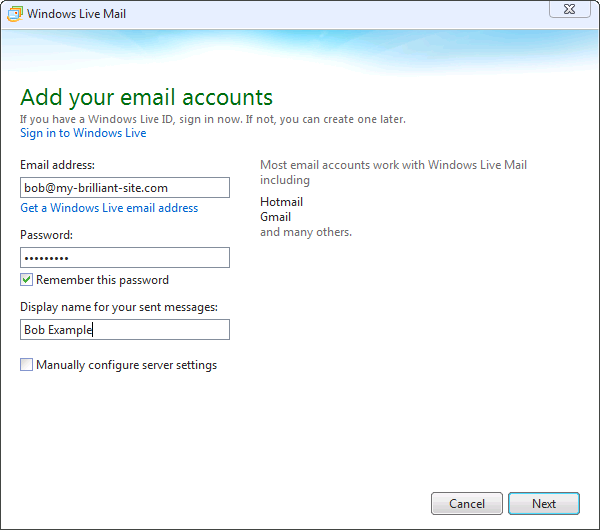
Add your email accounts: fill in your email address, password, and display name. For this example, Bob would put bob@my-brilliant-site.com, his password and Bob Example
Configure sever settings: Windows Live Mail can make guesses as to which server names to use for both incoming and outgoing servers. In this example
mail.my-brilliant-site.comwas automatically filled in. Make sure that Requires a secure connection (SSL) is ticked for both the incoming and outgoing servers. The incoming server should be set to authenticate using Clear text. The Logon user name is set to Bob’s email address, i.e. bob@my-brilliant-site.com. Finally ensure that the Requires authentication box is checked for the outgoing server.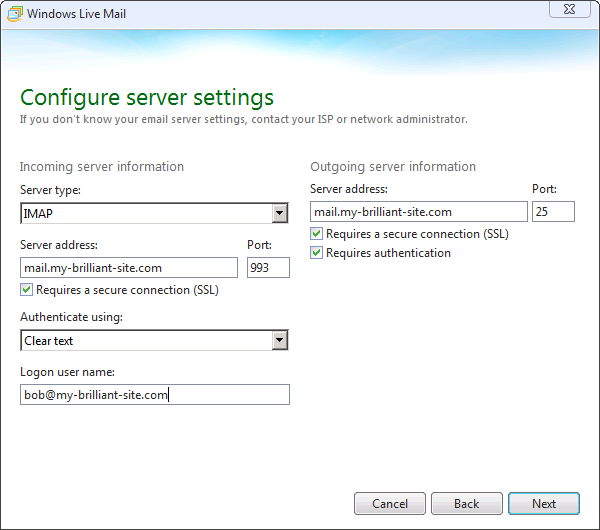
Your email account was added: Click to create the account.
When a connection is first made to the account, a warning box may pop up warning about the SSL certificate.
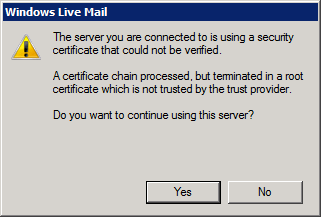
It is safe to answer when asked if you wish to continue using the server.
Apple Mail is the standard email client that comes with an Apple’s Mac OS X. This walk through uses Bob Example, who has the bob@my-brilliant-site.com email account.
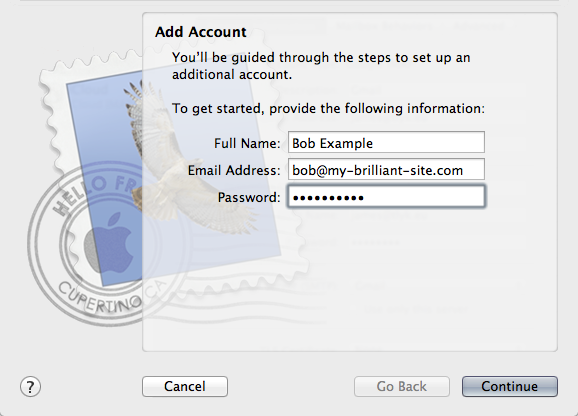
Add account: enter your name as you would like it displayed, your email address and password.
Incoming Mail Server: Set the account type to IMAP, the incoming mail server name, and the username, which is the same as your email address. In Bob’s case, the incoming server name is
mail.my-brilliant-site.com.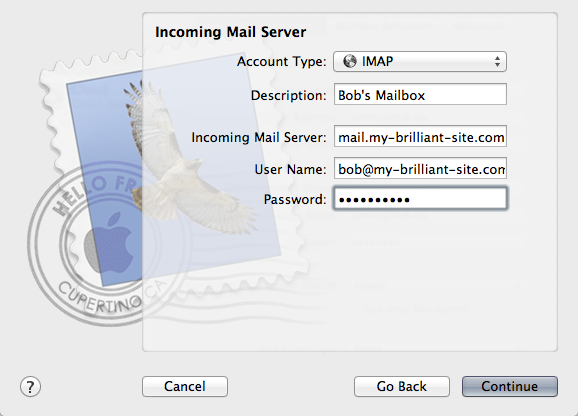
Outgoing Mail Server: Set the server name to the same as the incoming one was, and tick the Use Authentication box. The username and password should be the same as for your incoming mail. Bob sets his outgoing server to
mail.my-brilliant-site.com.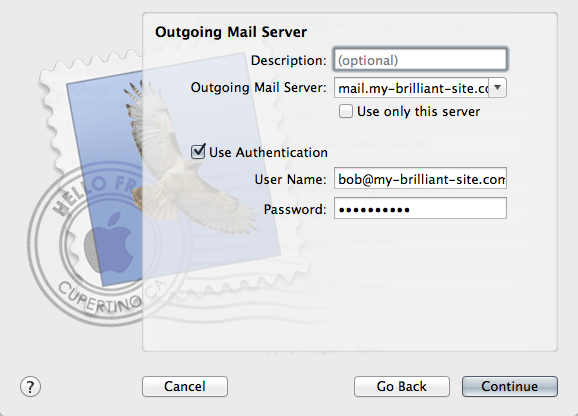
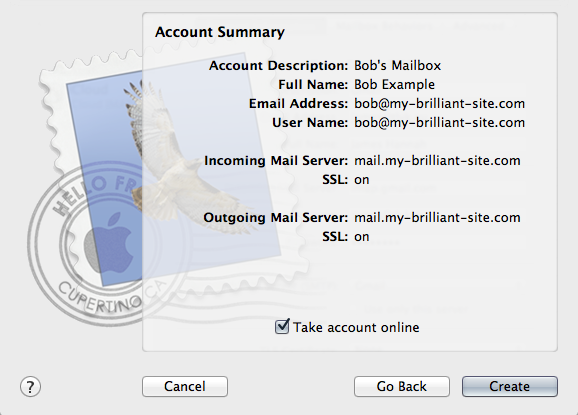
Account Summary: This shows the settings that will be used for your account. Note that SSL is enabled for both incoming and outgoing servers, keeping your mail secure against prying eyes.
When you first connect to your server, you may get a certificate warning, similar to the one shown below.
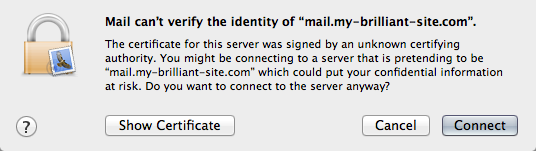
It is safe to click as the SSL certificate is self-signed.