Table of Contents
This section covers using Pidgin on Windows, Linux and OSX.
To start using XMPP that Symbiosis provides, you’ll need an XMPP client. Pidgin is one such client, and we’ll be showing you how to add an account and a contact for this, complete with illustrative screen shots.
Pidgin is available from https://pidgin.im/ and can be used on Linux, Windows, and OSX. Install it now if you haven’t already, as that’s what we’ll be using in this guide. If you already have a preferred XMPP client it shouldn’t be too hard to infer the settings from what follows.
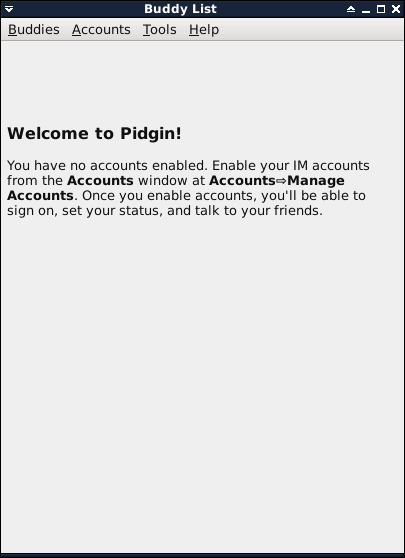
After starting Pidgin, go to the menu shown below. Select the button from the dropdown.
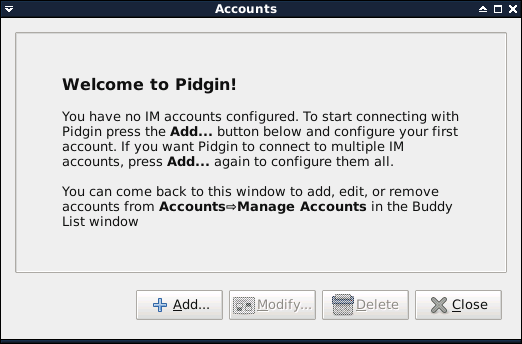
should show a dialogue with a welcome screenshot, and an button. Select this.
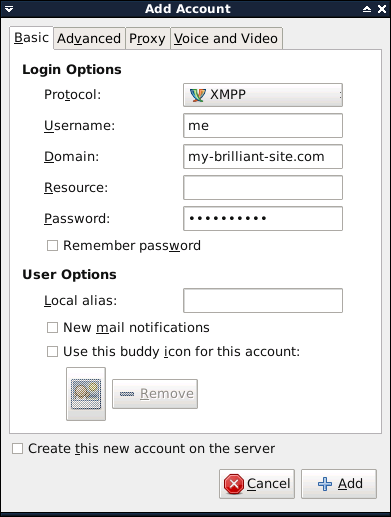
From the dropdown, select XMPP. Your will be the same as the part of your email address preceding the @ symbol, your will be your domain name, and your will be the same as your email address password. may be left blank; this identifies your client and Pidgin will set it for you.
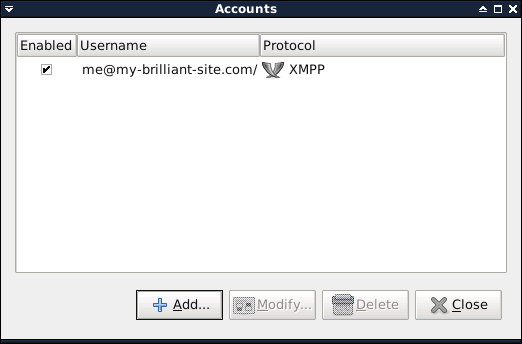
Select once you’ve entered your details, and you’ll subsequently be returned to the dialogue. This will show the new account. If the tickbox in the column isn’t ticked, do this.
Setup of your XMPP account is now finished - if you’re presented with an SSL certificate warning, you can select
Accept. The warning is because the default SSL certificate is self signed.